TABLE OF CONTENTS
Introduction
This article will help you to understand how you can set up importing offline PNR, and how the approval flow will be executed.
Setup
There are two ways of importing offline PNR. First, you need to enable this setting in the website settings. Follow the next path in order to find and enable Offline PNR import:
Admin panel → Websites → View Websites → Edit website → Enable Offline PNR import


Images 1-3. Enable Offline PNR import setting location
When this setting is enabled, you will able to import offline PNR through the Booking tab:
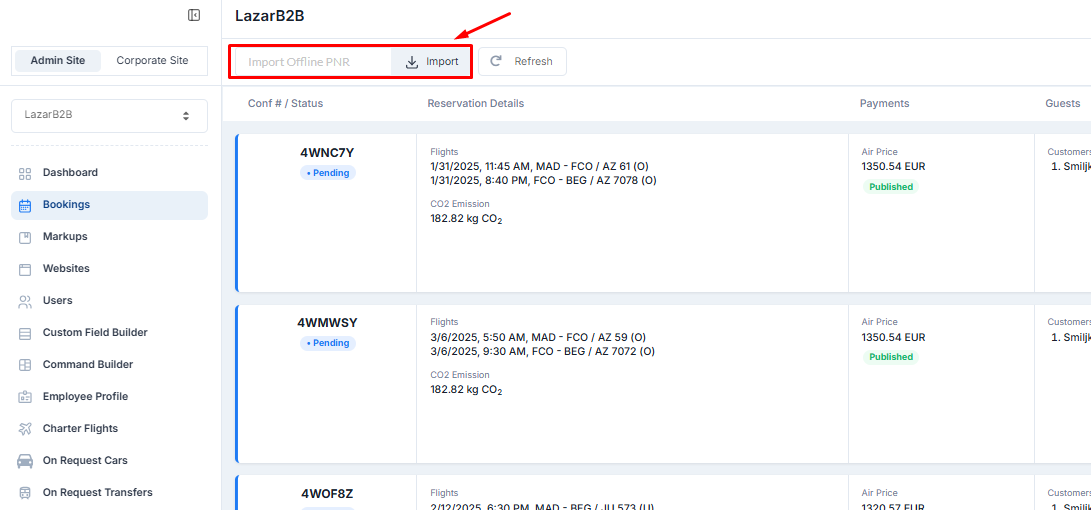
Image 4. Import Offline PNR through the booking tab
If you created an offline PNR in Amadeus Host, for example, all you need to do is to enter the PNR in the field for that and to click on Import Offline PNR:

Image 5. Flow for importing Offline PNR
After you click on the Import Offline PNR button, the PNR will be imported:
 Image 6. Imported Offline PNR
NOTE: The import of the offline PNR thorugh the booking tab for corporate websites, is possible only when email address of the traveler is username for his/her profile. When the offline PNR is imported thorugh the booking tab, approval flow will not be applied. The PNR will be visible in all reports.
In order to import PNR where approval flow will be applied, there you need to set up additional settings for Offline PNR import. You can find it using the next path:
Admin panel → Corporate Site → Edit Travel Group → Offline PNR Import

 Images 6-7. Offline PNR Import Settings location
In this setting, you need to set Offline Request Queue and Offline Booking Queue and set the request assistance email.
Offline Request Queue is a queue on which the request assistance PNR when created will be placed.
Offline Booking Queue is a queue on which you should place Offline PNR when you create an offline reservation.
For the PNR creation, please enable With Shell option. That means that when the request assistance is executed the system will create an empty GDS PNR and place it on the Offline Request Queue.

Image 8. Offline PNR Import Settings
How to use it
When the offline PNR import is enabled traveler or arranger will have the option to Request assistance from a travel agent. More about that you can find on this link.
After the traveler/arranger click on requesting assistance from the travel agent the system will create an empty PNR with remarks that will contain info about the passenger, which kind of reservation he requested, destinations, dates, etc. Also, the email with the title Request for booking assistance will be delivered.
NOTE: The empty PNR will be placed on the Offline Request Queue that you set under Offline PNR Import settings. When you are creating offline PNR you need to place it on the Offline Booking Queue. That is mandatory in order to import works as expected. Check the image 9.
After you created an offline reservation you will need to import offline PNR. You will do that under the view arranged travel tab. That tab you can find by following the next path:
Admin panel → Corporate Site → View Arranged travel

Image 9 View Arranged Travel tab
After you click on it, you will see a field where you can enter Offline PNR and import it. You will able to see the PNR that was created on Request Assistance:

Image 10. Import Offline PNR in View Arranged Travel
When you enter it and retrieve it, you will not be able to see it right away under other arranged travels. When the PNR is retrieved it will be sent to the traveler for accepting the proposal. Also, you will receive the mail with the title:
Booking Imported: -Name of the passenger-
After the Traveler accepts the proposal, you will able to see the imported PNR and the status of it. Also, the approval flow will be triggered if exist.